Hey friends, today in this blog, you’ll learn how to create a Draggable Div Element in HTML CSS & JavaScript. In the earlier blog, I have shared how to create a Custom Captcha in JavaScript, and now it’s time to create an easy draggable div using pure JavaScript.
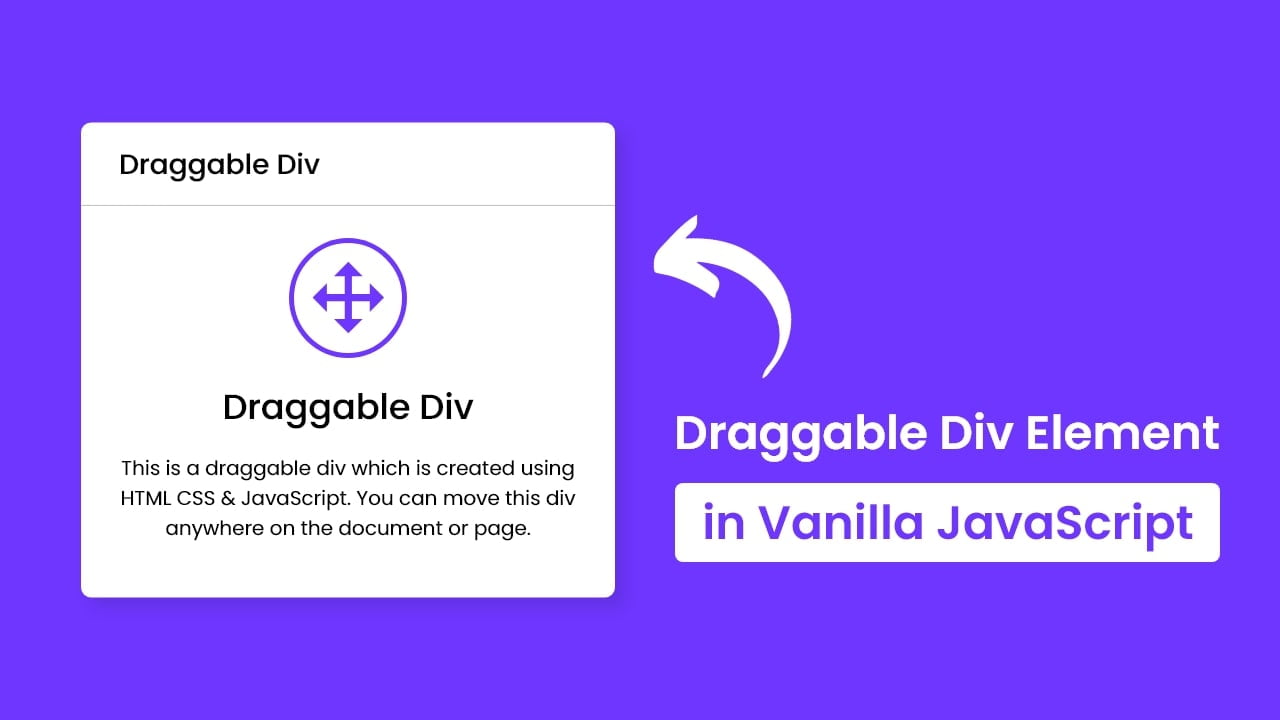
The draggable div element means you can move the particular element anywhere on the document or page by dragging it. In our simple project [Draggable Div Element in JavaScript], as you can see in the preview image, there is a modal box with a header, icon, title, and description.
You can move this modal box anywhere on the page by dragging it on the header part. When you start dragging this model, the cursor will change into a “move” icon to inform the user that this div is now dragging. You can only move this modal box by dragging it on the header.
If you’re confused about what I’m saying then you can watch a demo of this project or a full video tutorial of it.
Video Tutorial of Draggable Div Element in JavaScript
In the video, you have seen a demo of this project and the codes behind creating this Draggable Div Element in Vanilla JavaScript. I already told you, you can only move this div by dragging on the header but if you want to move it by dragging on anywhere of the div then you can also do this.
If you liked this draggable div and want to get to source codes or files then you can easily get it from the bottom of this page but before you go to copy-paste codes or download coding files, let’s understand the JavaScript codes of this draggable div.
In the JavaScript codes, first I added a mouse down event on the header, and inside the function of it, I added a mouse move event and called an onDrag function. Inside the onDrag function, I got the left and top values of the wrapper and parsed these values into an integer.
After this, I added this left and top wrapper value with movementX and movementY then gave this value to the wrapper left and top. At last, I added a mouse up event on the document, and inside the function of it, I removed the mouse move event listener. So when the user released the mouse button the div stop moving and stays in that position where a user has left it by dragging.
You might like this:
- Detect User Browser in JavaScript
- Creat Custom Captcha in JavaScript
- Drag & Drop to Upload File JavaScript
- Login Form Validation with Shake Effect
Draggable Div Element in JavaScript [Source Codes]
To create this small project [Draggable Div Element]. First, you need to create two Files: HTML & CSS files. After creating these files just paste the following codes into your file. You can also download the source code files of this draggable div from the given download button.
First, create an HTML file with the name of index.html and paste the given codes into your HTML file. Remember, you’ve to create a file with .html extension.
<!DOCTYPE html>
<!-- Coding By CodingNepal - youtube.com/codingnepal -->
<html lang="en">
<head>
  <meta charset="UTF-8">
  <meta name="viewport" content="width=device-width, initial-scale=1.0">
  <title>Draggable Div Element in JavaScipt | CodingNepal</title>
  <link rel="stylesheet" href="style.css">
  <!-- Linking BoxIcon for Icon -->
 <link href='https://unpkg.com/[email protected]/css/boxicons.min.css' rel='stylesheet'>
</head>
<body>
  <div class="wrapper">
    <header>Draggable Div</header>
    <div class="content">
      <div class="icon"><i class='bx bx-move'></i></div>
      <div class="title">Draggable Div</div>
      <p>This is a draggable div which is created using HTML CSS & JavaScript. You can move this div anywhere on the document or page.</p>
    </div>
  </div>

  <script>
    const wrapper = document.querySelector(".wrapper"),
    header = wrapper.querySelector("header");

    function onDrag({movementX, movementY}){
      let getStyle = window.getComputedStyle(wrapper);
      let leftVal = parseInt(getStyle.left);
      let topVal = parseInt(getStyle.top);
      wrapper.style.left = `${leftVal + movementX}px`;
      wrapper.style.top = `${topVal + movementY}px`;
    }

    header.addEventListener("mousedown", ()=>{
      header.classList.add("active");
      header.addEventListener("mousemove", onDrag);
    });

    document.addEventListener("mouseup", ()=>{
      header.classList.remove("active");
      header.removeEventListener("mousemove", onDrag);
    });
  </script>

</body>
</html>
Second, create a CSS file with the name of style.css and paste the given codes in your CSS file. Remember, you’ve to create a file with .css extension.
/* Import Google font - Poppins */
@import url('https://fonts.googleapis.com/css2?family=Poppins:wght@400;500;600&display=swap');
*{
  margin: 0;
  padding: 0;
  box-sizing: border-box;
  font-family: "Poppins", sans-serif;
}
body{
  background: #6F36FF;
}
::selection{
  color: #fff;
  background: #6F36FF;
}
.wrapper{
  position: absolute;
  top: 50%;
  left: 50%;
  max-width: 450px;
  width: 100%;
  background: #fff;
  border-radius: 10px;
  transform: translate(-50%, -50%);
  box-shadow: 10px 10px 15px rgba(0,0,0,0.06);
}
.wrapper header{
  font-size: 23px;
  font-weight: 500;
  padding: 17px 30px;
  border-bottom: 1px solid #ccc;
}
.wrapper header.active{
  cursor: move;
  user-select: none;
}
.wrapper .content{
  display: flex;
  padding: 30px 30px 40px 30px;
  align-items: center;
  flex-direction: column;
  justify-content: center;
}
.content .icon{
  height: 95px;
  width: 95px;
  border-radius: 50%;
  border: 5px solid #6F36FF;
  display: flex;
  align-items: center;
  justify-content: center;
}
.content .icon i{
  color: #6F36FF;
  font-size: 60px;
}
.content .title{
  margin: 15px 0;
  font-size: 29px;
  font-weight: 500;
}
.content p{
  font-size: 16px;
  text-align: center;
}
That’s all, now you’ve successfully created a Draggable Div in HTML CSS & JavaScript. If your code doesn’t work or you’ve faced any error/problem, please download the source code files from the given download button. It’s free and a .zip file will be downloaded then you’ve to extract it.


cool thing
Hello! Coding Nepal great work man I just want to ask that how can I make this resizable too.
thanks. much appreciated
I’ll try to make separate video on it.
good, need full job
You’re awesome! Not just good demos, also you explain everything very well about we may need it. I not just use your works, I’m inspired also. Thank you so much from Turkey!
Happy to hear that 🙂
Awesome
Sir, I am a web developer but I don’t know how to host it so sir could please make a video on hosting a website with Hostinger I hope you will. Love♥♥ from India
Sure, I’ll think about it. Keep loving.
Its very easy broo